A Daily Light Check: A Simple Routine to Improve Home Light for Plants and Photos
Light is one of those quiet things that shapes how a space feels and how plants and photos turn out. On busy days it’s easy to ignore the changing angle and quality of daylight. A brief, mindful check each day helps you notice patterns, make small adjustments, and develop a consistent sense of how light behaves in your rooms.
1. Start by observing: map the day in five minutes
Begin with a quick walkthrough. This is about noticing, not fixing. Take five minutes and move through the rooms you use most. Check for:
- Where direct sun falls and for how long.
- Areas of soft, indirect light that are good for plants and portraits.
- Harsh glare or deep shade that you might want to soften or brighten.
Keep a small notebook or a note on your phone labeled “light map.” Jot one-line observations: “kitchen counter: morning sun 8–9am; east window diffuse after 9am,” or “living room: bright west window late afternoon, glare on TV.” Over a week you’ll see patterns that help decisions about furniture, plants, and where to take photos.
2. Make subtle surface adjustments to shape light
Rather than big changes, favor small surface tweaks that alter how light moves through a room. These adjustments are low-effort and reversible.
- Reflective surfaces: A pale rug, light-colored throw, or a small mirror placed opposite a window redirects light into darker corners.
- Soften harsh light: Lightweight curtains or a translucent shade can turn glare into gentle illumination that’s friendlier for plants and people.
- Create contrast control: Small folding screens or a strategically placed book can block a patch of strong sun that otherwise causes hot spots in photos.
These are little experiments. Try one change and watch it for a day before adding another. The goal is to build an intuitive sense for what each surface does to light.
3. Place plants with intention, not guesswork
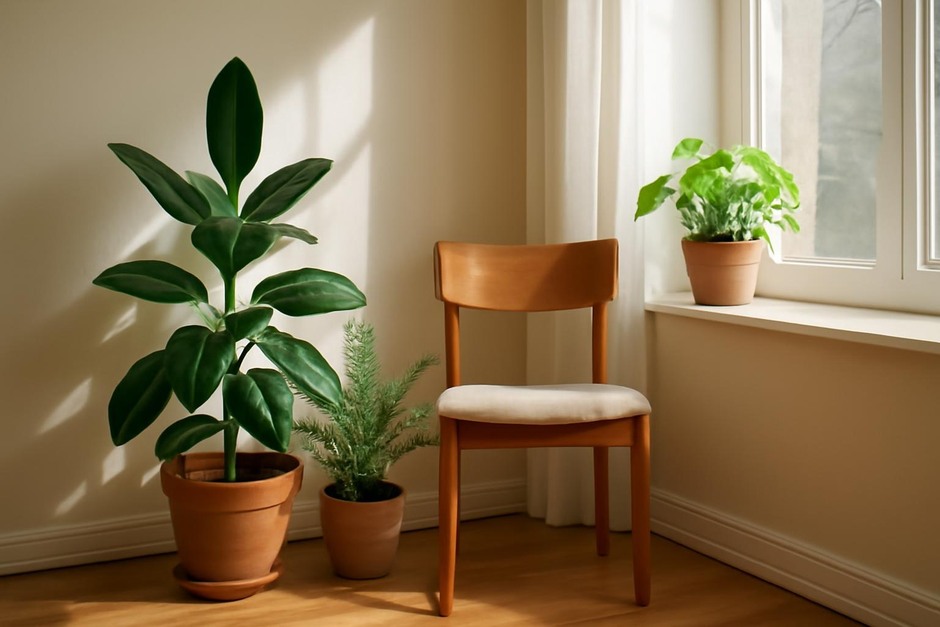
Plants respond to both amount and quality of light. Use your daily observations to match plants to the spots that suit them.
- Bright, direct light: Succulents and many fragrant herbs prefer sun that reaches them for several hours.
- Indirect bright light: Most common houseplants—pothos, philodendron, snake plants—do well where light is strong but not burning.
- Low light: Ferns and certain cast-iron varieties tolerate and even prefer shaded corners.
Rotate plants on a simple schedule: every two weeks move a plant from an interior shelf to a brighter window for a day, then back. This brief rotation helps you learn whether a plant is simply resting or lacks light. Note any steady changes in leaf color or growth in your light map to guide future placement.
4. Capture quick reference photos and a repeatable routine
Photography is a practical tool for remembering how light looked on a given day. A few phone photos taken from the same spots build a visual diary.
- Choose two anchor views for each room: one wide shot and one close detail (a plant or a chair).
- Take the photos at the same time each day for a few weeks—morning and late afternoon are useful comparisons.
- Label the photos with time and a short note: “living room, 4:30pm, soft west light, glare on cushion.”
Repeatable routine (five minutes):
- Walk the main rooms and glance at where sun and shadow fall (1 minute).
- Make one surface tweak if needed: move a throw, tilt a mirror, or draw a curtain (1 minute).
- Adjust one plant placement or rotation decision (1 minute).
- Snap one quick photo from an anchor view and add a short note to your light map (2 minutes).
Conclusion
Doing this short light check regularly trains your eye and makes small, cumulative improvements to how your home functions for plants and photography. The practice is intentionally modest: it’s less about perfect conditions and more about building awareness. After a few weeks you’ll have a useful record of how light behaves and a handful of simple solutions that fit your daily life.
Keep the routine adaptable. On cloudy stretches, focus on contrast and surface color; on bright seasons, experiment with softer fabrics and reflective accents. The point is a steady, gentle rhythm of looking, adjusting, and learning.